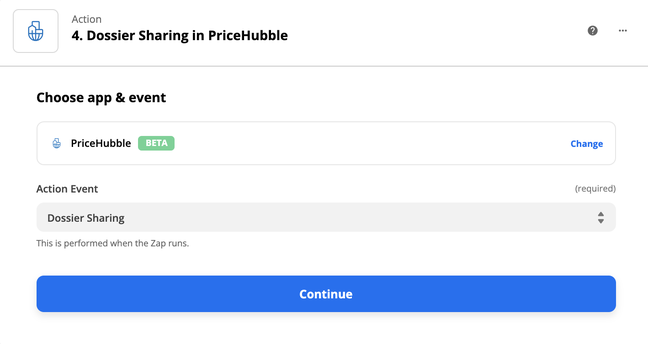
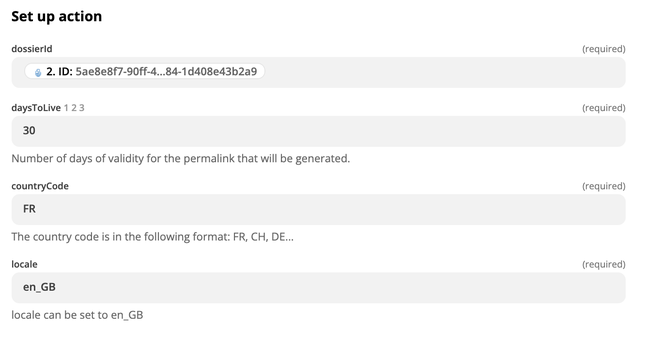
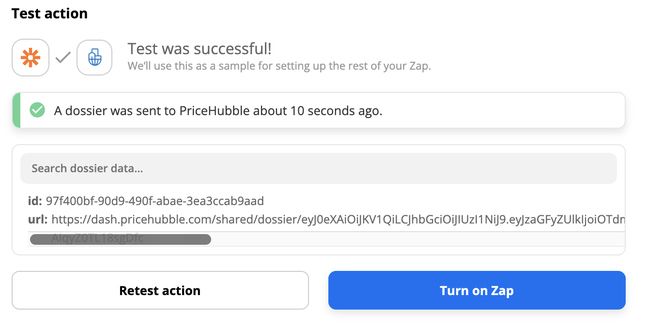
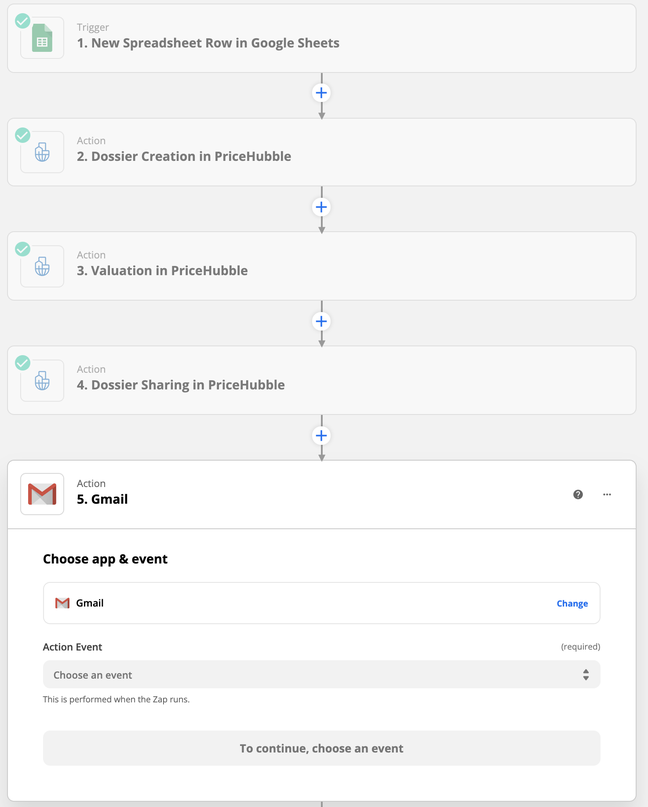
You don't need to work with a team of developers to create integrated marketing campaigns built around PriceHubble insights. All you need is Zapier. This blog post outlines how you can easily integrate PriceHubble to your real estate software or tool of choice in 4 simple steps; check it out.
Haven't heard of Zapier? No problemo, here's a quick intro: Zapier is a no-code tool that connects the software you use every day together. That connection (all technological and happens somewhere in the cloud) can be used to automate and integrate parts of your workflow.
Zapier Glossary
You'll need to familiarise yourself with Zapier's unique vocabulary before getting started. Here's a quick overview of the most important terms.
- Automate: is used to describe the action of programming software to do something instead of a person. For example, getting an automatic email response to a contact form you filled in online.
- Workflow: is used to describe the process a task or action goes through from initiation to completion.
- Trigger: is an event that starts a Zap.
- Action: is an event a Zap performs after it is triggered.
- Zap: a Zap is an automated workflow that consists of a trigger and one or more actions. After a Zap has been switched on, it will run the action steps every time a trigger occurs.
Visit the Zapier website to view the entire Zapier glossary.
Zapier’s application library consists of over 3000 tools! Using Zapier to integrate your app of choice to PriceHubble will allow you to build new workflows leveraging PriceHubble valuations and real estate insights. From CRMs to marketing automation tools, from forms to sheets and more –– the only limit is your imagination.
Build workflows that support your real estate marketing campaign
If you don’t have a Zapier account already, you need to create one first. Head over to the Zapier homepage and sign up. Once you’ve chosen your account type and activated your account, you can start creating Zaps.
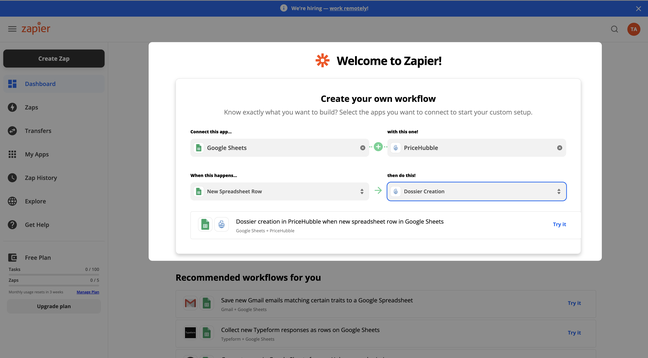
You can create Zaps directly from your Zapier dashboard.
As mentioned above, our aim here is to show you how easy it is to create a marketing campaign using PriceHubble and Zapier. We were spoiled for choice with Zapier’s 3000+ applications. For the sake of illustrating this process, we could only choose one app as an example –– so we’ve chosen a simple yet popular integration option for PriceHubble users: Google Sheets. But, the principles and process explained in these four steps can easily be applied to any other software product, just pick your preferred application instead of Google Sheets.
If you need inspiration, we’ve added a list of tools at the end of this blog post.
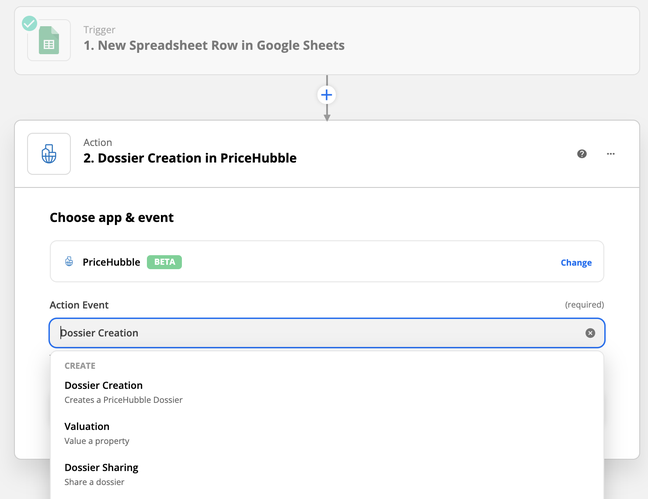
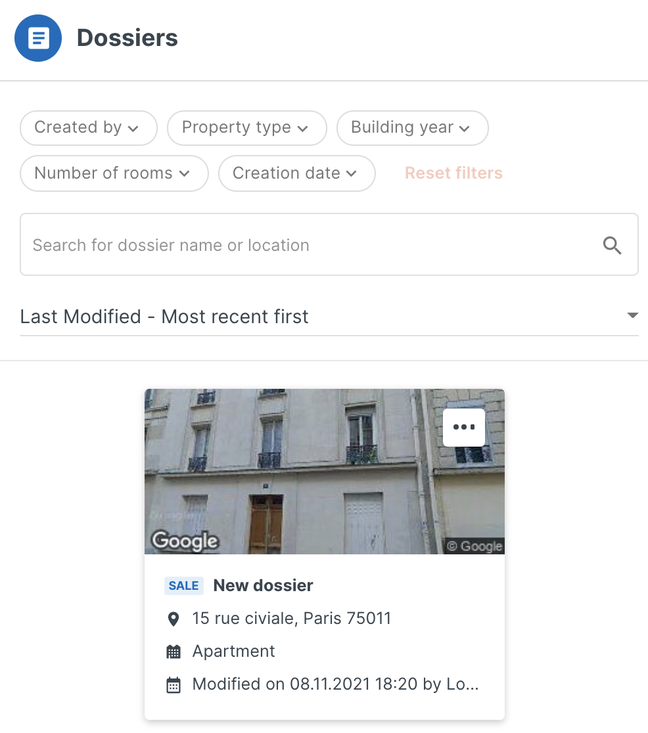
In this example, we’d like to illustrate how easy it is to create a PriceHubble Dossier out of the information pulled from a row in a Google sheet.
Step 1: Structure your document, then connect Google Sheets to PriceHubble
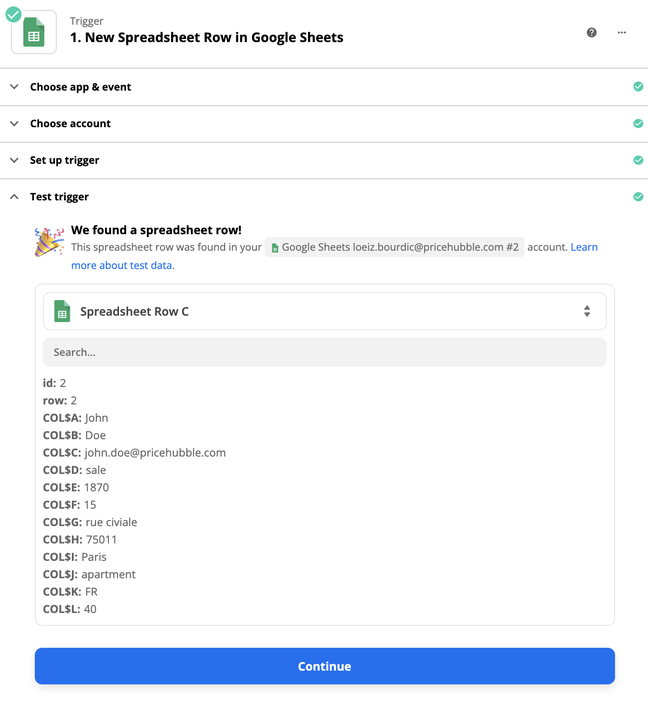
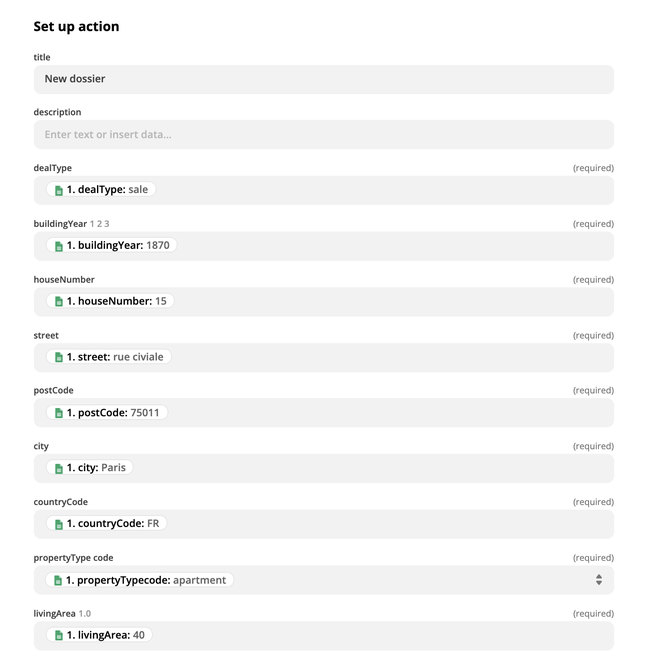
First, format your Google sheet in such a way that each column represents the real estate data you require to create a Dossier.
Include columns for the following required fields: customer name, email address, street name, house number, postal code, floor area in sqm, construction year, property type, number of rooms, country code.
See the image below:


